Installing and connecting shower panels: "do it yourself" instructions from WunderBad

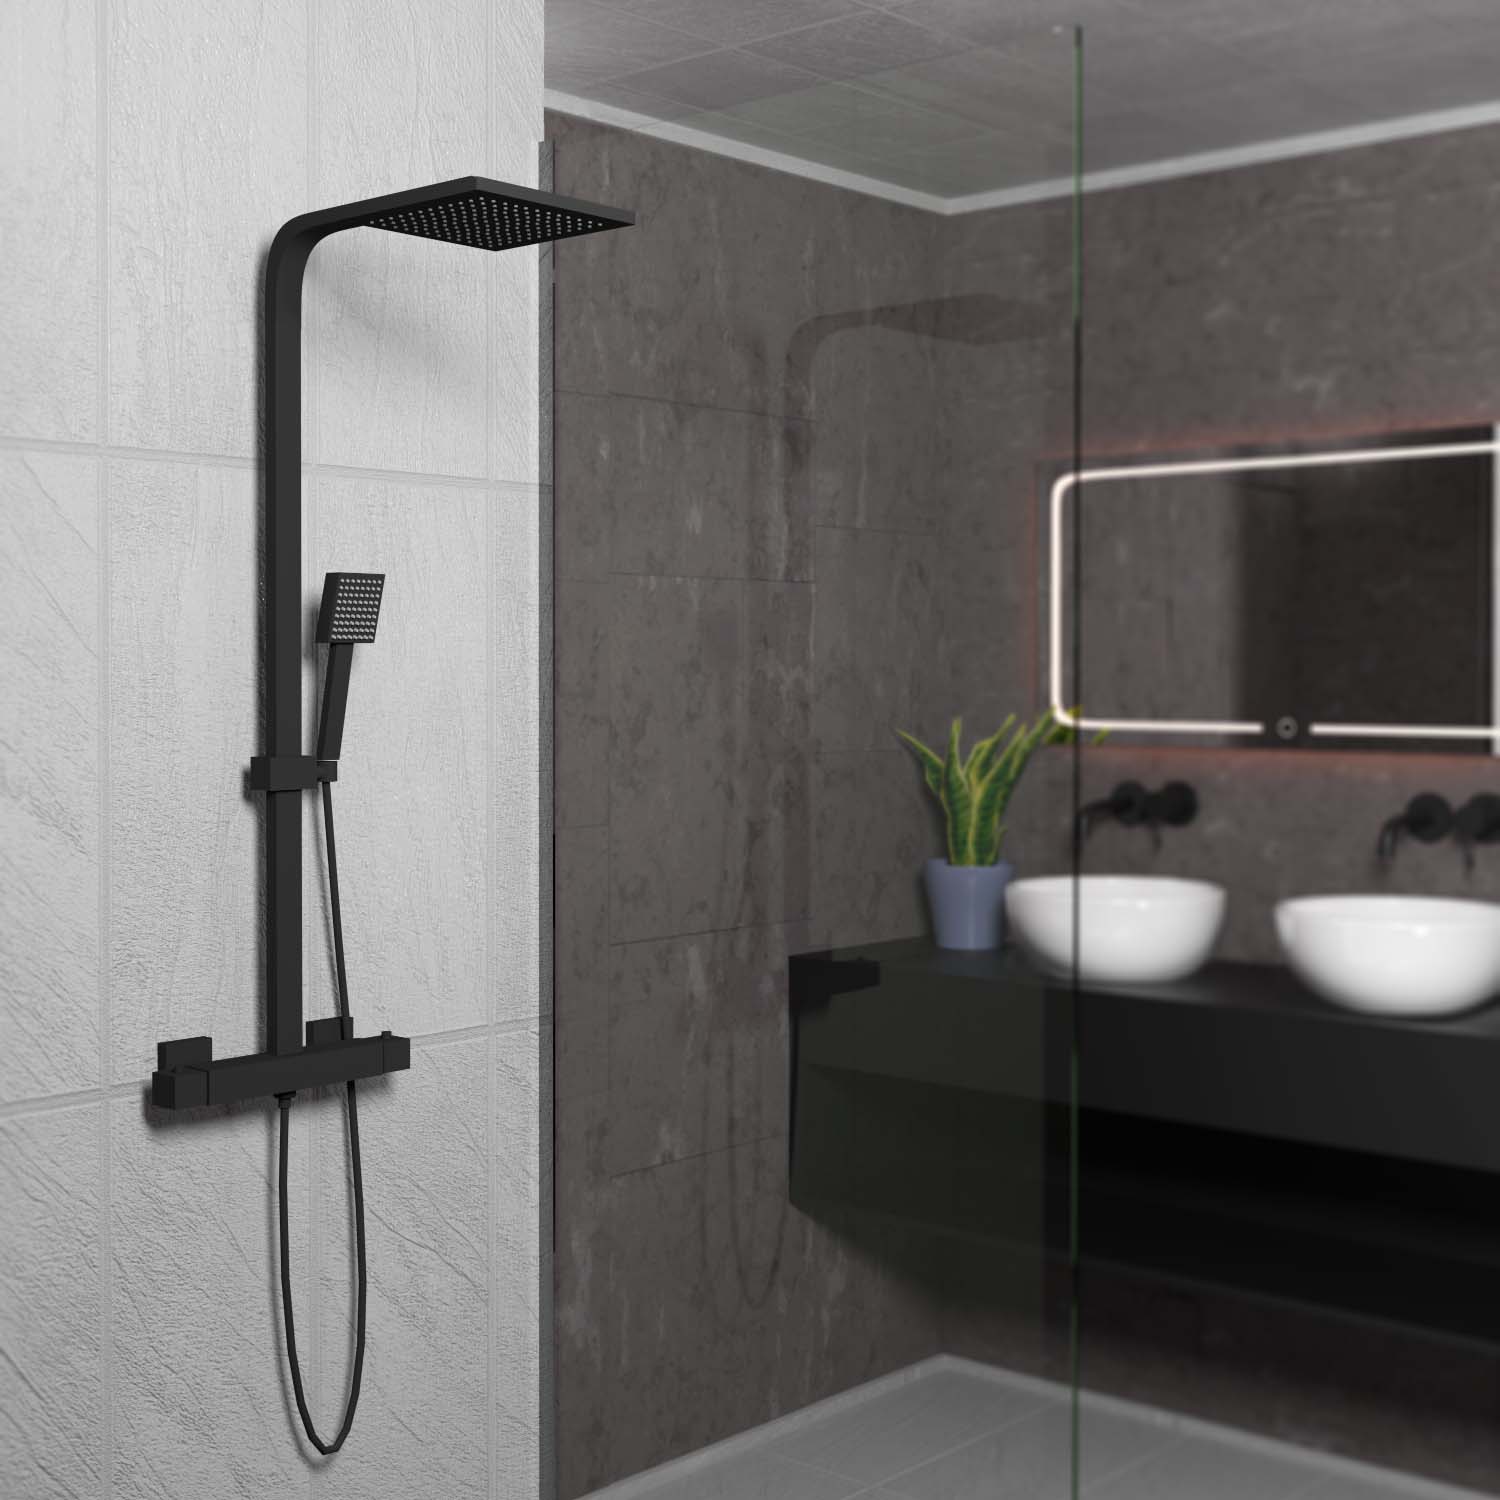
By installing a shower panel, everyday hygiene becomes a breathtaking and relaxing shower experience. Most shower panels are very easy to connect, meaning you can give your bathroom a new flair in just a few steps. In this short "do it yourself" guide, we'll show you how to connect your shower panels.
Installing and connecting shower panels step by step:
- Step 1: Turn off the main water tap
- Step 2: Check and prepare connections
- Step 3: Install fittings
- Installing and connecting shower panels
- Step 4: Final measures
Tools & materials used / required
- Pencil
- Adhesive tape or tape
- Tape measure
- Drill with glass and tile attachment
- Spacers
- Wrench
- Double thread (external)
- Shower panel including mounting rail, water inlet hoses, fastening material and Allen key
- silicone
- Sealing paste, Teflon tape, hemp
- Spirit level
Step 1: Turn off the main water tap
Remember this beginner's tip: ALWAYS turn off the main water tap first when doing installation work! Otherwise, your construction project could quickly fall through.
Step 2: Check and prepare connections
Most shower panels are attached to so-called mounting rails. Foresighted action and planning are essential here. Think carefully about the height at which you want to install the shower panel fitting.
A little tip: The controls should be easy to reach, the nozzles should be optimally adjusted to your body size and the manual shower head with hand shower should also be easy to remove.
Remove the blind plugs (closure elements) from the water inlets. To do this, screw in the spacers provided using an Allen key. You should also wrap the threads tightly with Teflon tape or hemp beforehand so that they are completely sealed.
Step 3: Install fittings
In order to install the fittings on your shower panel, you need an external double thread. You should also wrap this with Teflon tape or hemp. This is then screwed into the spacers and tightened.
If there are any gaps between the threaded pieces and the wall, it is best to seal them with silicone.
The fully assembled wellness shower panel: Before the fitting is in place and the hoses are connected, let the water run for about three minutes. This cleans the threads and flushes dirt particles out of the pipe network.
Step 4: Install and connect shower panels
When connecting the shower panel, we recommend that you have a second assistant. One person should hold the upper part of the panel firmly and the other should screw the cold and hot water inlets onto the water connections.
Once the fitting is in place and before connecting the hoses, we recommend running the water for a few minutes. This cleans the threads and flushes dirt particles out of the pipe network.
Be sure to play it safe and make sure that the entire structure is holding. The fitting should be firmly secured to the wall and the panels should rest securely on it. The hot and cold water inlets must be leak-proof and the cavities sealed. Only then will you be able to enjoy your new shower experience for a long time.
Step 4: Final measures
Trying is better than studying – let the water run a few times, stand under the shower and check all the inlets and outlets again.
Otherwise, we hope you enjoy your shower!
Now on offer: Wellness shower panels at affordable prices
At WunderBad, we focus on an exquisite selection when it comes to shower panels. Through the constant development of our product range, we can assure you that our shower panels meet the highest quality standards.
Whether it's a luxurious wellness shower panel or a reduced stainless steel construction - we turn your everyday shower into a breathtaking shower experience.


